TP-Link Deco X55 AX3000 Setup Guide—For Optimum Connectivity & Connection Stability
Nowadays having fast, dependable internet is a must. Be it for a gaming enthusiast or to have a 4K movie time with family or even for your business face time, slow Wi-Fi and annoying dead spots can ruin the experience. That’s where knowing the TP-Link Deco X55 AX3000 setup actually makes a difference.
If you have recently purchased a Deco X55 AX300, and you are struggling with the TP-Link Deco X55 AX3000 setup, don’t worry, you’ve landed in the right place. In this guide, we’ll walk you through the essential setup steps. Upon completion, you will get an up and smoothly running network.
Getting Started: Preparing for Your Deco X55 Installation
The TP-Link Deco X55 AX3000 setup isn’t difficult, but skipping basics tends to create problems that look technical later (and usually aren’t).
Before plugging anything in:
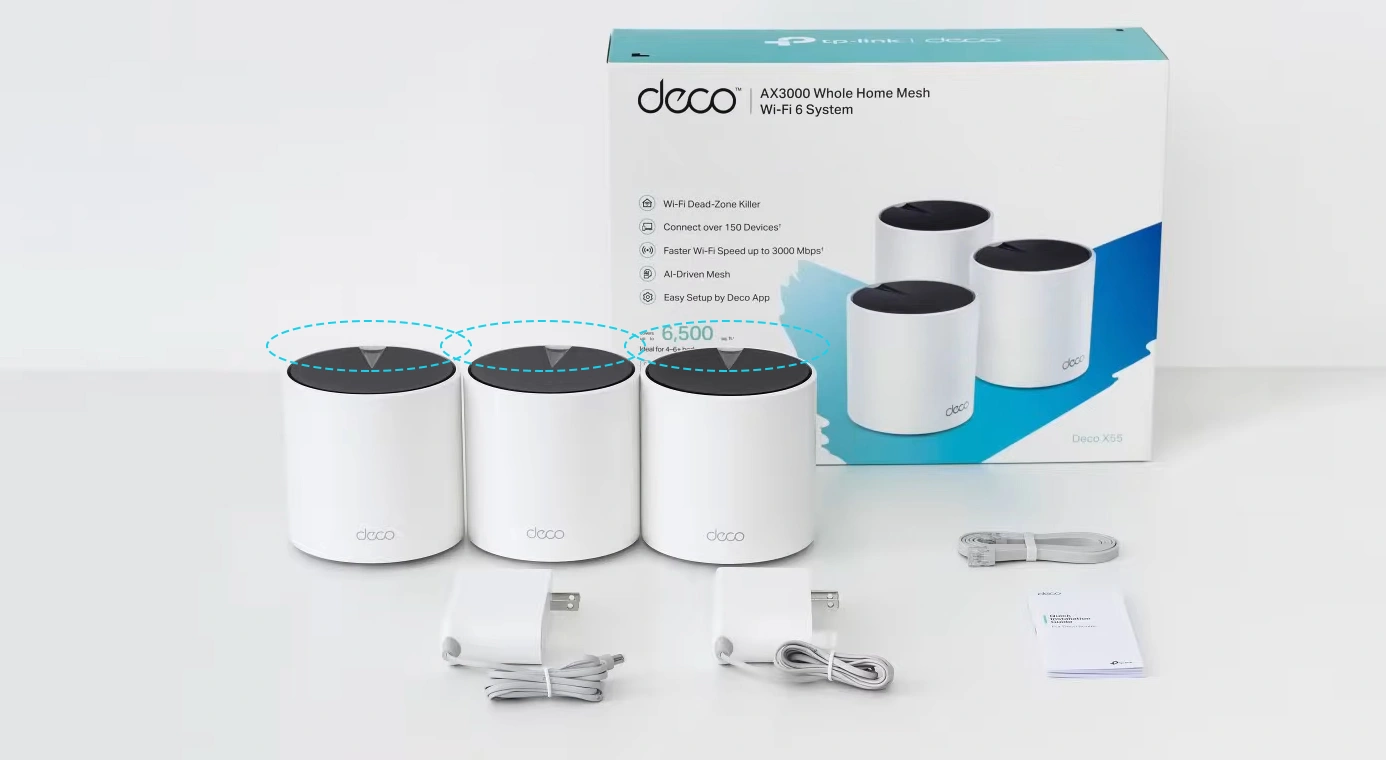
- Make sure the box actually includes all units, power adapters, and the Ethernet cable.
- Install the TP-Link Deco app on your phone because you will be requiring it to make your system work.
- Confirm your modem is already connected to the internet. The Deco can’t fix a dead connection upstream.
- As they say, a stitch in time saves nine. This whole procedure takes only two minutes of your time, and it can save you from last-minute frustration.
Step-by-Step: How to Set Up TP-Link Deco X55
The best part of the Deco system is its app-driven configuration. Hereunder is the answer to one of the most frequently asked questions: how to setup TP-Link Deco X55. Follow these steps for a successful installation.
- Start with connecting the hardware—First of all, plug your primary Deco unit into any available power outlet and connect it to your modem using the Ethernet cable that comes with the packing. Wait for the LED light to turn blue. This indicates that the system is ready for configuration.
- Now, launch the Deco app. To complete the TP-Link Deco X55 AX3000 setup, open the app on your smartphone and sign in with your TP-Link ID. If you are new to the system and don't have one, follow the prompts. Once logged in, tap "Let's Begin."
- Select Your Model—Within the app, you will see a list of Deco models. Select the Deco X55 from the list. Once selected, the app will automatically search for the unit via Bluetooth.
- Configure Internet Settings—You don’t need to worry about your connection type because the app will automatically detect it. Once found, please provide a name for your new Wi-Fi network (SSID), and to protect it from unwanted users, create a secure password.
- Add Additional Units – In case of a multi-pack, you are advised to plug in the units in other rooms as per your requirement. The system app will detect and add these to the system automatically, to your mesh network to extend coverage.
Enhancing Performance with the Deco X55 Firmware Update
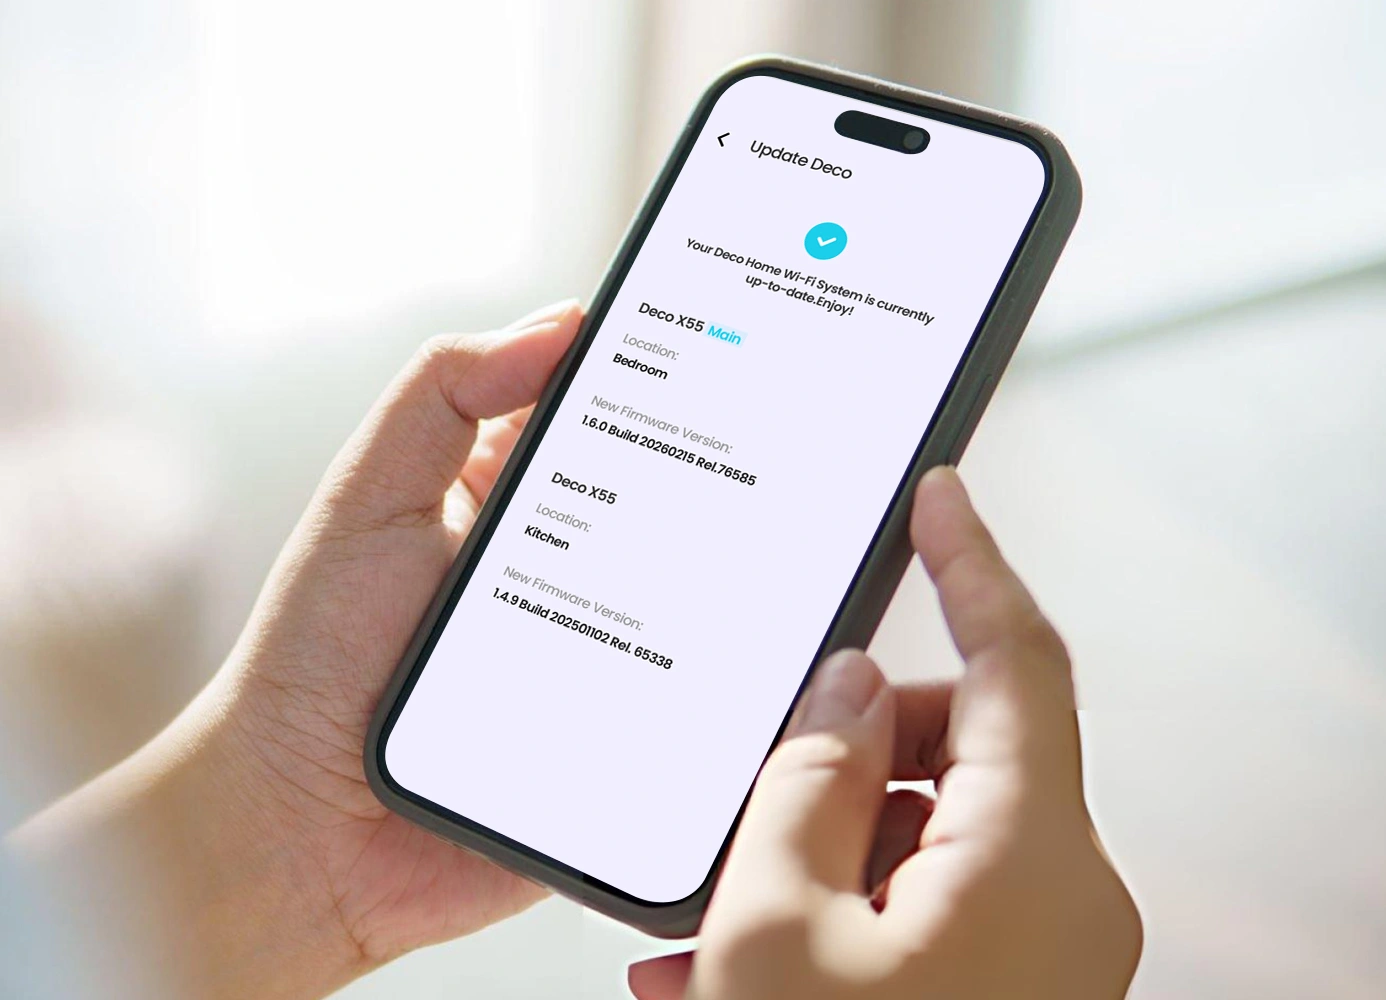
Once you have learned how to setup TP-Link Deco X55, the next challenge is to maintain a healthy network. For this, you need to make sure that your devices are up-to-date and running on the latest software. To avoid any connectivity issues, you must perform the Deco X55 firmware update regularly. This update ensures that your system has the latest security patches and performance optimizations.
To update:
- Open the Deco App.
- Go to More > System > Firmware Update.
If you see “an update is available,” follow the on-screen instructions. Once your download is complete, install it. Make sure you are not turning off your Deco units during this process because this may cause a technical glitch.
Troubleshooting: Why TP-Link Deco X55 Keeps Disconnecting
Even after performing TP-Link Deco X55 AX3000 Setup accurately, one may have to deal with connectivity issues. If your TP-Link Deco X55 keeps disconnecting, consider the following fixes:
- Make sure your Deco units are not blocked by nearby large metal objects or thick concrete walls.
- You must keep your Deco units away from appliances like microwaves or cordless phones operating in similar frequencies.
- An outdated software/firmware version is also one of the reasons behind connectivity issues. So, do keep an eye on the firmware update notifications.
- A faulty Ethernet cable with any cuts or bends may result in stability issues. Should you see one, please replace your cable. If the cable is fine, then check whether your cable is plugged in properly.
Starting Over: Deco X55 Factory Reset
If you still find it hard or face persistent software glitches, the best way is to do a Deco X55 factory reset. This will delete all current settings and return the device to its “factory settings.” As the name states, you will have to redo all the settings.
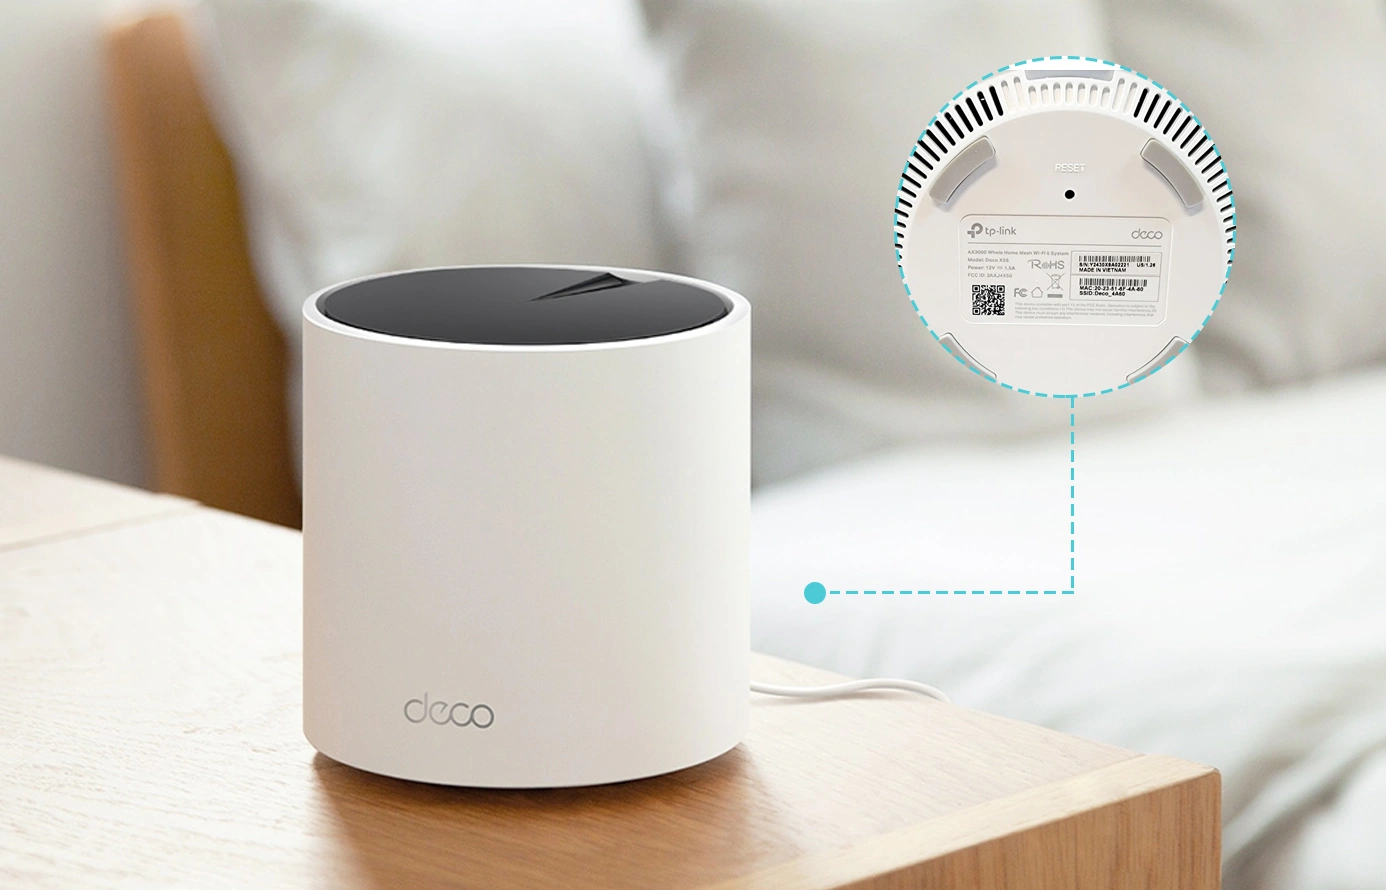
- One way of doing this is using the reset button. Locate the Reset button at the bottom of the Deco unit. You will be requiring a pin or paperclip to press. You need to hold the button for about one second until the LED changes color.
- The second method is using the app. Look for the "More" section in the app, select the specific Deco unit you wish to reset, and tap on the three dots in the corner to locate the "Remove" or "Reset" option.
Frequently Asked Questions (FAQs)
Does the Deco X55 support wired/Ethernet backhaul?
Yes, you can connect the Deco units using Ethernet cables. Ethernet cables ensure the fastest possible speeds between nodes.
What do the LED colors indicate?
- Blue light indicates that the system is ready for setup.
- Solid Green/White denotes that everything is working normally.
- Solid red is a sign that your Deco is disconnected from the internet.
- Solid yellow indicates that the device is starting up or resetting.
Where is the best place for my Deco units during a Deco X55 installation?
For maximum coverage, it is advised that you should place nodes in open spaces, away from walls and electronic equipment. Do keep them within 25–30 feet of each other to ensure a strong, seamless wireless backhaul.
How do I perform a Deco X55 firmware update manually if the app fails?
Download the correct firmware from the TP-Link website. Log into the web interface at http://tplinkdeco.net, navigate to Advanced > System > Firmware Upgrade, and upload the BIN file.